QUICK ANSWER
The guide below covers 21 named puzzle sequences across Chapters 4, 5, 6, 7, 10 and 11, including pedestal symbols, reflector routes, spike paths and Petrified-room mechanisms.
Chapter 4: From hell it rose
These are the verified Chapter 4: From hell it rose solutions in story order. Match the subchapter and room name before applying a symbol or reflector sequence, because later chapters reuse similar sphere mechanics with different targets.
| # | Puzzle | Solution cue |
|---|---|---|
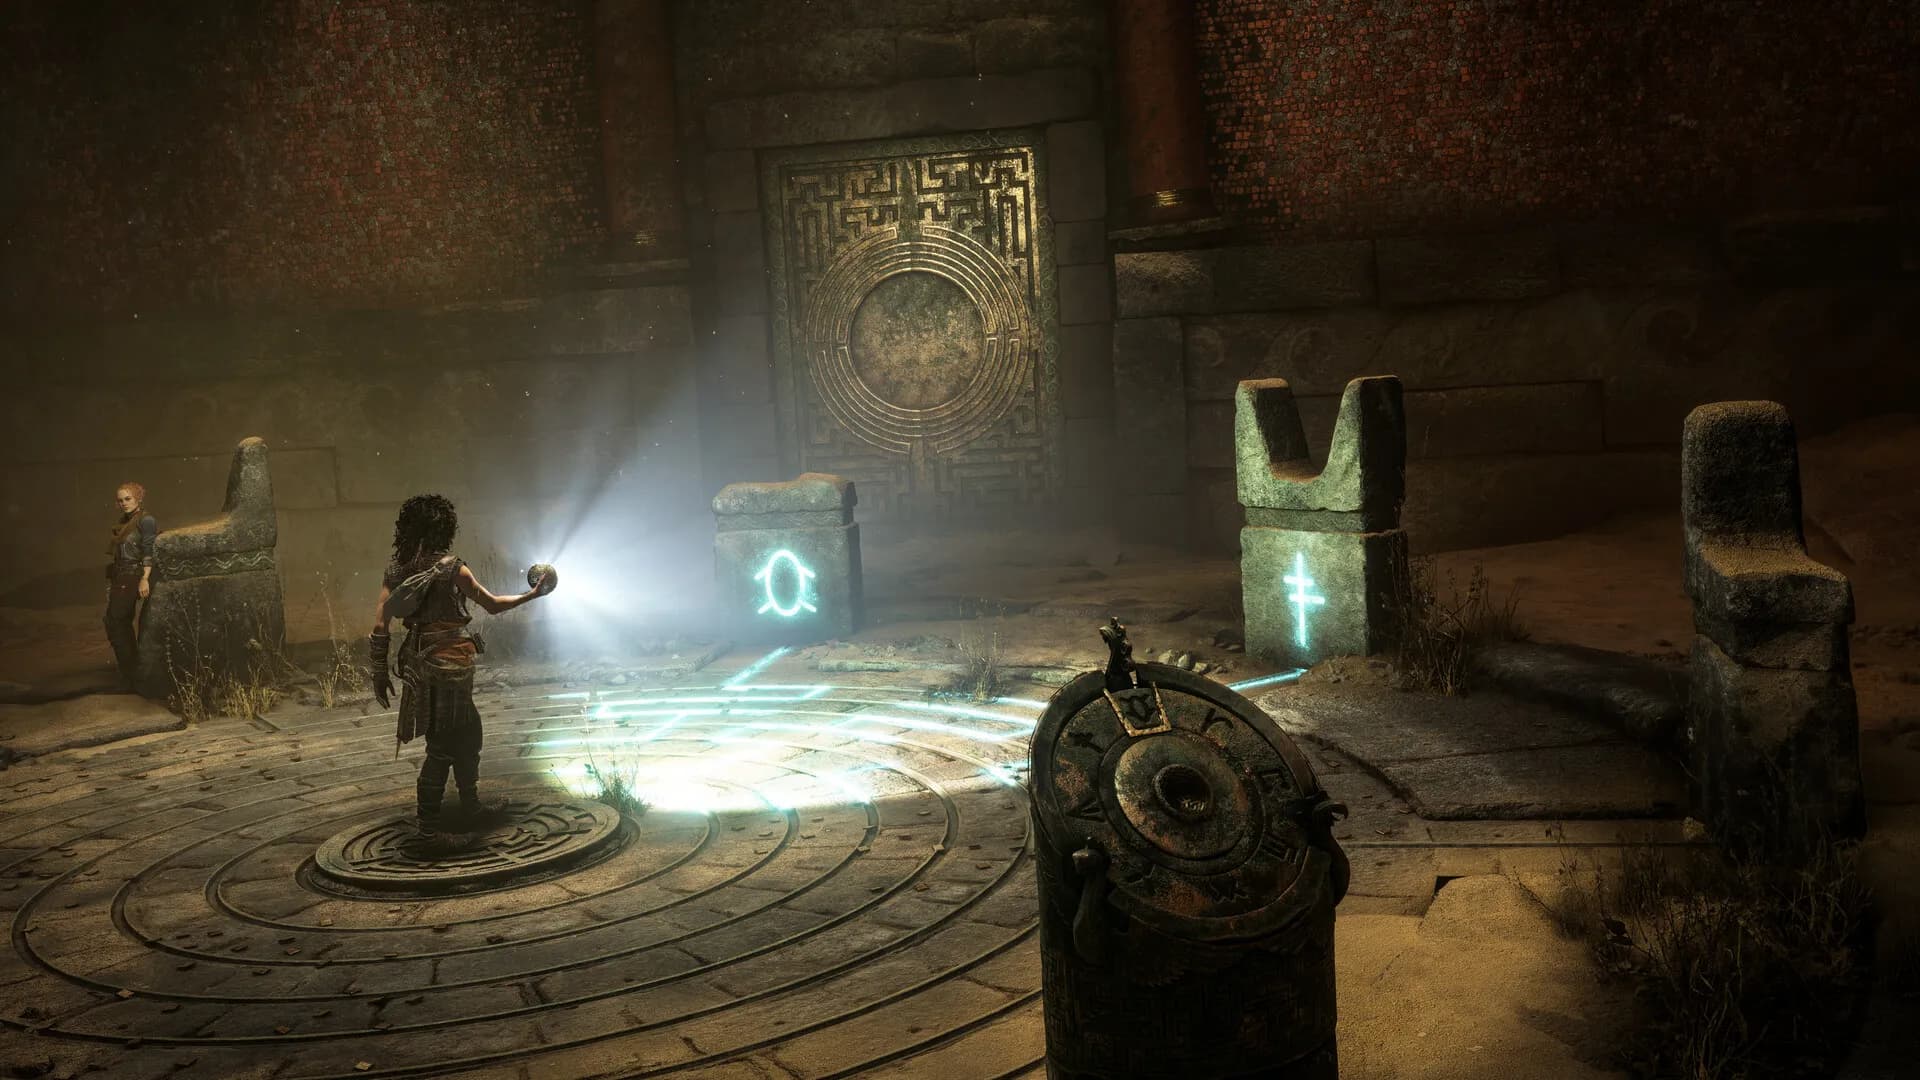
| 1 | Subchapter 1 – The 3 Pedestal Symbols | Use the sphere at the pedestals and you’ll see blue lines on the floor, follow these to see the symbols on the walls that are connected to each pedestal. Rotate the 3 pedestals to show the matching symbol. Solution (left to right): Y-C-↑. |
| 2 | Subchapter 2 – Light Reflector Puzzle | This puzzle is in a room with mirrors and a locked door that has a light shining down the right side. Then you must shine the light from one reflector to the next so the light hits the symbol on the door. Left reflector > right reflector > front left reflector > front right reflector > door symbol. |
| 3 | Subchapter 2 – Maze Puzzle | Shine the light at the floor and follow the blue lines from the pedestals to the symbols connected to them. Left = “O”; Right = “I”. |
| 4 | Subchapter 3 – Spike Trap Puzzle | When you reach a corridor with spike traps in the floor, shine the sphere and you will see the symbols on the walls that indicate what’s safe to interact with. Then hold; to see a blue line on the ground that shows the safe path. There will be walls blocking the light throughout, but you can see the pathing from afar and memorize it. |
| 5 | Subchapter 5 – Bull Mirror Puzzle | Look at the ground between the mirrors, there are white symbols on red background, and some have a blue outline that is linked. Shine the left mirror at the front right wall (4th icon from left) & the middle mirror also at front right wall (1st icon from left). Then use the pedestal that appears. |
Chapter 5: Desolation it wrought
These are the verified Chapter 5: Desolation it wrought solutions in story order. Match the subchapter and room name before applying a symbol or reflector sequence, because later chapters reuse similar sphere mechanics with different targets.
| # | Puzzle | Solution cue |
|---|---|---|
| 6 | Subchapter 1 – Door Puzzle | Interact with the pedestal in the middle of the room, then stand on the right floor pad, use the sphere, then rotate the colored lights until they align with the gems on the door. |
| 7 | Subchapter 3 – Floor Symbols Puzzle | On the floor in front of the middle platform you see 5 symbols. From the relic, jump on these: Dots (1) – Flower (2) – Kraken (3) – Dots (3) – Kraken (3 *jump backwards to the previous symbol) – Dots (3 *jump forward again to last platform) – Flower (3 *jump to the right). Alternate Short Path (missing out on Collectibles): Dots (2) – Kraken (3) – Dots (3) – Flower (2) – Kraken (2) – Dots (2) – Kraken (3 *jump right) – Dots (2 *jump back) – Flower (2 *jump forward) – Kraken (3 *runjump diagonally) – Dots (3 *jump forward). |
| 8 | Subchapter 3 – Pillar Puzzle (Optional Puzzle for Secret Blade) | From the room with the 4 sockets/pedstals, when looking at the big green bull door, take the front right path, the one that has an “O” with 3 lines at the top between the statues. They must align with the colored gems on the pillar. Then the axe symbol on the floor opens up to reveal a staircase into a crypt, open the big chest in it. |
| 9 | Subchapter 3 – 1st Statue Door Puzzle | Inside the trial, stand on the floor plate where light is shining from the ceiling. Hold; > Dpad; to switch to the 3 lights >; to rotate. Red = left statue helmet; green = middle; blue = right statue hand. |
| 10 | Subchapter 3 – 2nd Statue Door Puzzle | Again stand on the lit floor plate and shine the sphere. Green = top; Blue = bottom; Red = right statue eye. |
| 11 | Subchapter 3 – 3rd Statue Door Puzzle | Shine the mirror at the front right dust to reveal a cogwheel. Then shine the 3 lights at the door. Green = rightmost below door; red = rightmost below door; blue = righmost below door. |
| 12 | Subchapter 3 – Mirror Room Puzzle | You need to align the 3 colored mirrors so the light hits the colored dots on the central pillar. Red = 1) shine at rightmost mirror, 2) shine at right side of pillar Blue = 1) shine at left mirror, 2) shine at mirror in the back on lower level, 3) shine at mirror between the last two, 4) shine at left side of pillar Green = 1) shine at back right mirror, 2) shine at back of pillar After the pillar lowers, interact with the pedestal that appears. Then leave the room through the big bull gate where you came from. |
| 13 | Pedestal Room, 3 Socket Symbols | Insert the “inverted P” symbol in front of the Dice Icon path. Insert the “h” symbol in front of the “O with 3 lines” Icon path. Insert the “O” symbol in front of the ‘“O” Over a Line”’ Icon path. |
Chapter 6: What lies beneath
These are the verified Chapter 6: What lies beneath solutions in story order. Match the subchapter and room name before applying a symbol or reflector sequence, because later chapters reuse similar sphere mechanics with different targets.
| # | Puzzle | Solution cue |
|---|---|---|
| 14 | Subchapter 5 – Bull Pillar Puzzle | This is an optional puzzle. Jump on the first lit platform on the left and use the sphere to align the lights (Green = below bull pillar, Blue = below the pillar you stand on, Red = pillar in back right, the light will reflect back to a mirror). This opens the tomb, go in and open the chest. |
Chapter 7: Death It sowed
These are the verified Chapter 7: Death It sowed solutions in story order. Match the subchapter and room name before applying a symbol or reflector sequence, because later chapters reuse similar sphere mechanics with different targets.
| # | Puzzle | Solution cue |
|---|---|---|
| 15 | Subchapter 1 – Lever Puzzle | Use the two levers in the room to make the light shine in a straight line, the second mirror will reflect it downward at a green floor plate. Stand on the plate and use the sphere to align the 3 lights. |
| 16 | Subchapter 3 – Black Temple Door Puzzle | You see the solution when shining the sphere at the door, it will show green dots to indicate in what order to press the skulls. Press the skulls in this order: Rightmost Skull, 2nd from Right, Leftmost, 2nd from Left. |
| 17 | Subchapter 3 – Black Temple Light Puzzle | Proceed through the temple until you defeat the first group of enemies. Green = Middle Mirror (the one you moved to the middle), Red = Left mirror, Blue = Right mirror. The mirrors will reflect the light at the colored gems and platforms will appear leading down. |
Chapter 10: Parallel Paths
These are the verified Chapter 10: Parallel Paths solutions in story order. Match the subchapter and room name before applying a symbol or reflector sequence, because later chapters reuse similar sphere mechanics with different targets.
| # | Puzzle | Solution cue |
|---|---|---|
| 18 | Subchapter 2 – Bull Pillar Puzzle | First, destroy the vases in the area to reveal the blue gem underneath. Then get onto the light platform in the right corner and align the lights (Red = Left; Green = Middle; Blue = Right, hidden below vase). This opens the crypt in front of the pedestal, drop down and open the chest. |
| 19 | Subchapter 2 – Mirror Light Puzzle | You will reach a big area with several mirrors and a round gate with 3 pedestals in front of it. Use the 3 pedestals to move the gems on the door into that same position. Stand in the light at the door to shine the colored lights at the gems. |
Chapter 11: Patera
These are the verified Chapter 11: Patera solutions in story order. Match the subchapter and room name before applying a symbol or reflector sequence, because later chapters reuse similar sphere mechanics with different targets.
| # | Puzzle | Solution cue |
|---|---|---|
| 20 | Subchapter 1 – Light Beam Puzzle | From the start of the chapter you will slide down a cave, then you reach a round room with a beam of light shining down the middle. Use the rightmost lever, then let go of it, Faro will use it. Then you pull the left lever back to melt away the dust with the light. |
| 21 | Subchapter 2 – Petrified Crank Puzzle | After an elevator ride you reach this puzzle. For everything else needed for 100% Completion, refer to Resonance: A Plague Tale Legacy Collectible Guide. Filed Under: Game Guides, Resonance: A Plague Tale Legacy. |
Quick player questions
Which chapters have major puzzles?
PowerPyx's dedicated solutions cover major sequences in Chapters 4, 5, 6, 7, 10 and 11.
What should I do before rotating a pedestal?
Use the sphere and trace the blue line to the symbol connected to that pedestal.