QUICK ANSWER
From the church roof, aim the mirror first at the signal between the two towers to the right of the initial view. Keep the beam there until its light disappears, then aim down toward the second signal on the pier and wait again before leaving the mirror.
First signal: the gap between two towers
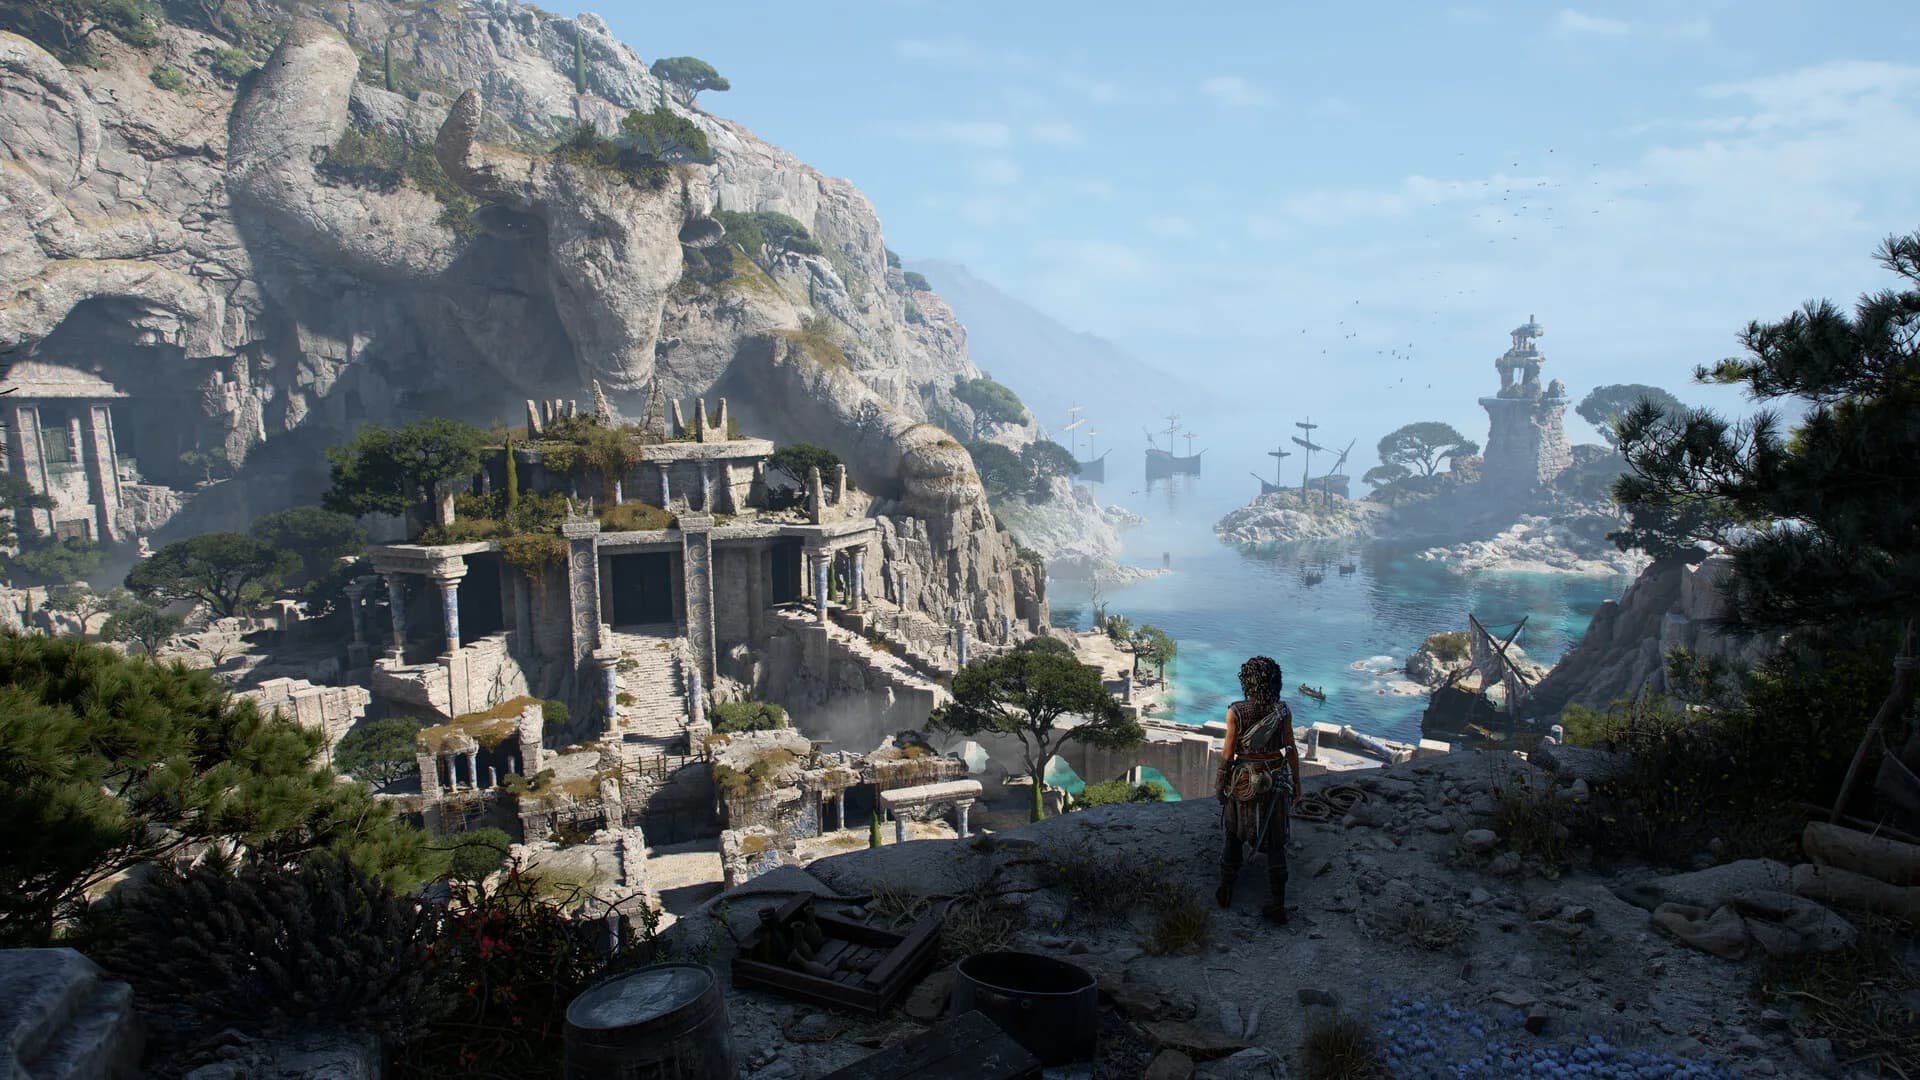
After recovering Sophia's weapons and climbing the church, interact with the roof mirror. Starting from the view presented by the mechanism, scan to the right and place the reflected beam on the signal positioned between a pair of towers.
Do not sweep away as soon as the beam touches the target. AltChar's route says to hold the mirror on the signal until the returned light disappears; that completed response is the cue to move on.
Second signal: lower down on the pier
For the second reply, bring the aim downward toward the waterfront and find the signal on the pier. Center the beam there and keep it fixed through the same light-response cycle.
The objective advances only after both exchanges finish. If the prompt appears stuck, re-center the current target and wait for the visible signal to end instead of searching for a third point.
Confirm that you are at the correct Chapter 2 step
This puzzle follows the weapon-recovery section and precedes the rooftop departure toward the arsenal. If Sophia is still in carnival disguise or has not recovered her gear by the water, continue the main objective before looking for the church-roof targets.
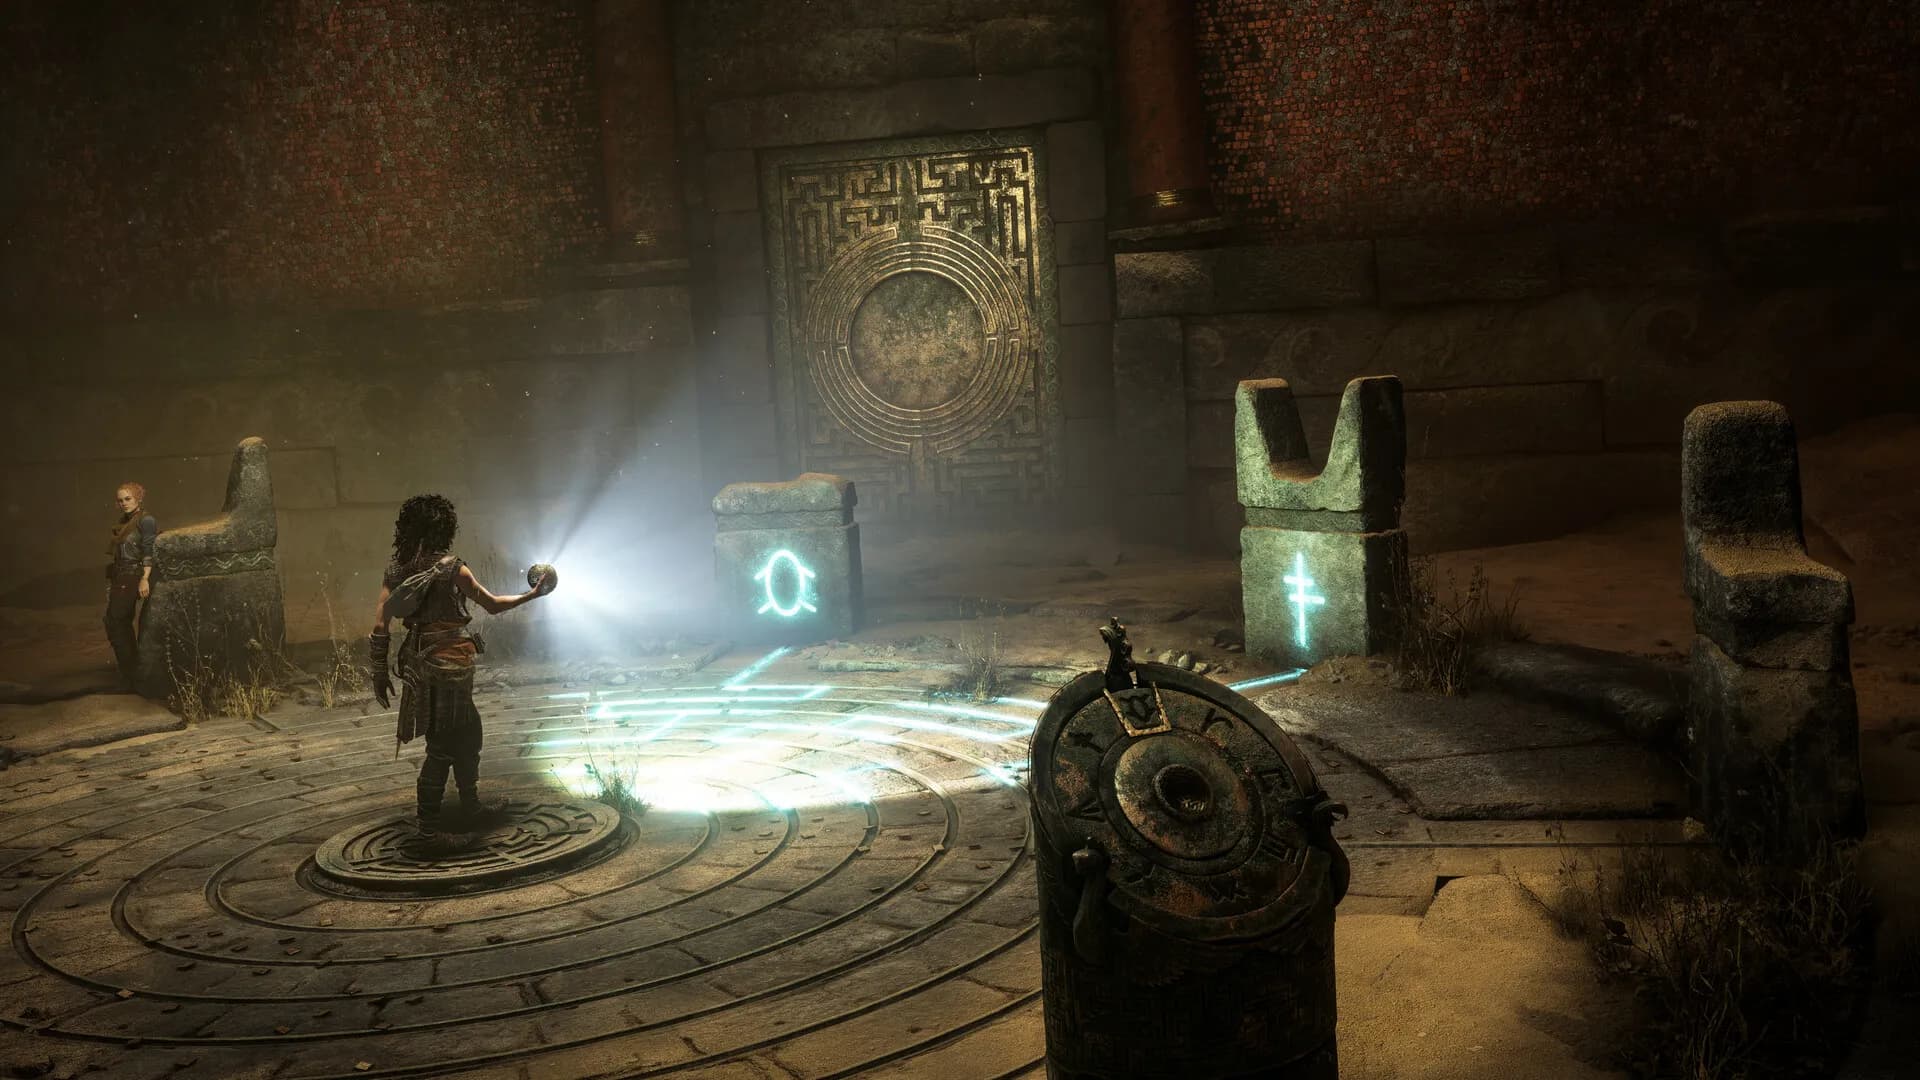
Once the second signal completes, leave across the roofs and use the grapnel during the archer encounter. The mirror does not need a separate symbol code or sphere input.
Quick player questions
Where is the first church-roof signal?
It is between two towers to the right of the mirror's initial view.
Why does the signal not count immediately?
Keep the reflected beam centered until the target's light disappears; moving early can leave the exchange unfinished.