QUICK ANSWER
Push deeper into the trials while alternating exploration, combat and larger environmental puzzles.
The critical path
Push deeper into the trials while alternating exploration, combat and larger environmental puzzles.
Follow these Chapter 5 checkpoints in order; each one marks a progression action or a search window before the next one-way transition.
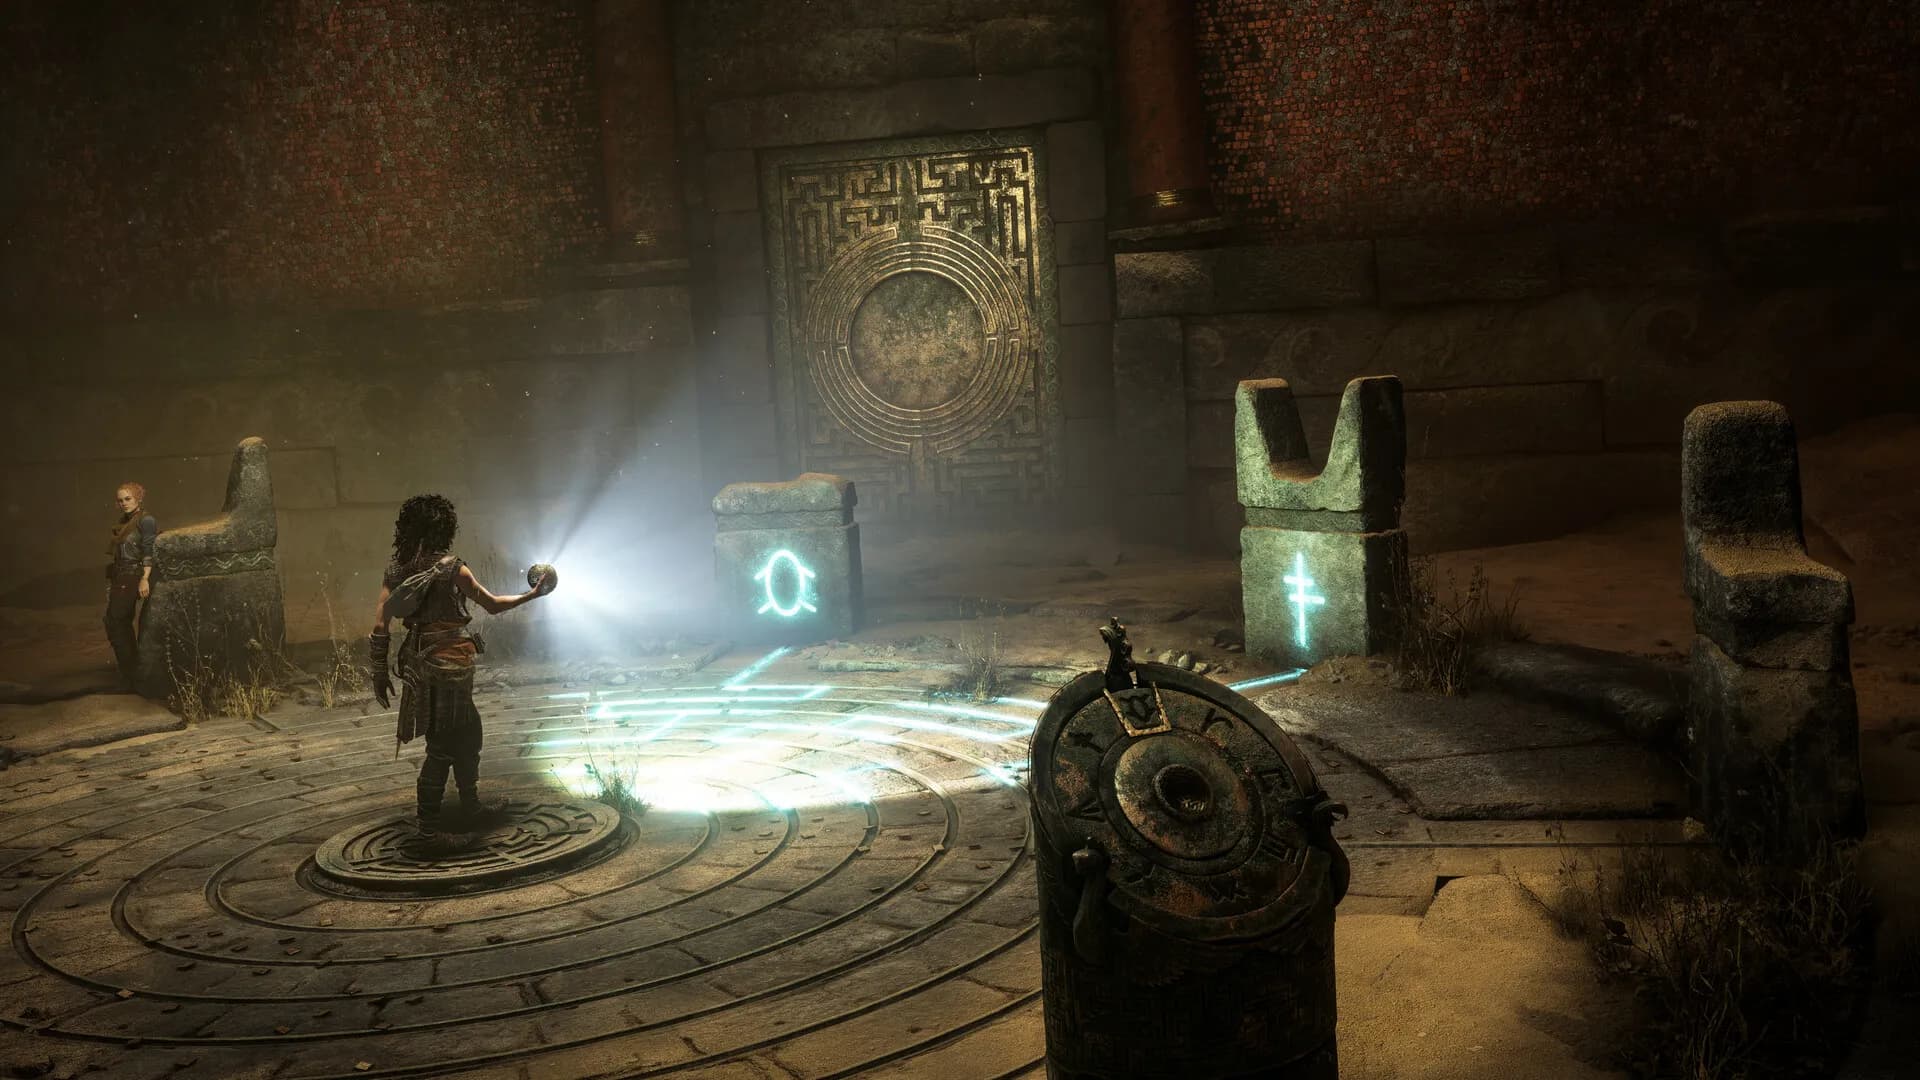
- Use the upgraded sphere to rotate the red, green and blue beams onto the matching door receptors.
- After the first large fight, open the left barricade and clear both the lower camp and upper ledges before advancing.
- At the four-symbol hub, finish one branch at a time and return to the central room before choosing the next gate.
- The optional pillar route hides a Blade; complete its light alignment before committing to the main exit.
- In the mirror room, verify the source, reflector and receptor for each color separately before moving to the next chain.
Chapter checklist
Before the final one-way transition, check the chapter tracker for 1 Blade, 5 Artefacts and 5 Charms.
Scan side platforms and camps before committing to slides or one-way drops; this chapter carries a heavy collectible load.
| Blade | Artefacts | Charms |
|---|---|---|
| 1 | 5 | 5 |
If the puzzle stops you
Chapter 5 uses the sphere, environmental markings or light routing at the blockers noted above. Reveal the full mechanism first, then change one pedestal, reflector or beam at a time so the failed link remains visible.
The dedicated puzzle guide places Chapter 5's verified solution in chronological order and preserves the surrounding objective name, making it easier to confirm that you are solving the same room.
Quick player questions
Can I replay Chapter 5?
Yes. You can reopen Chapter 5 through Chapter Select for its regular collectibles; a later Resonance Point total does not carry backward into this saved chapter state.
Are there collectibles in Desolation It Wrought?
Yes. The verified Chapter 5 total is 1 Blade, 5 Artefacts and 5 Charms.