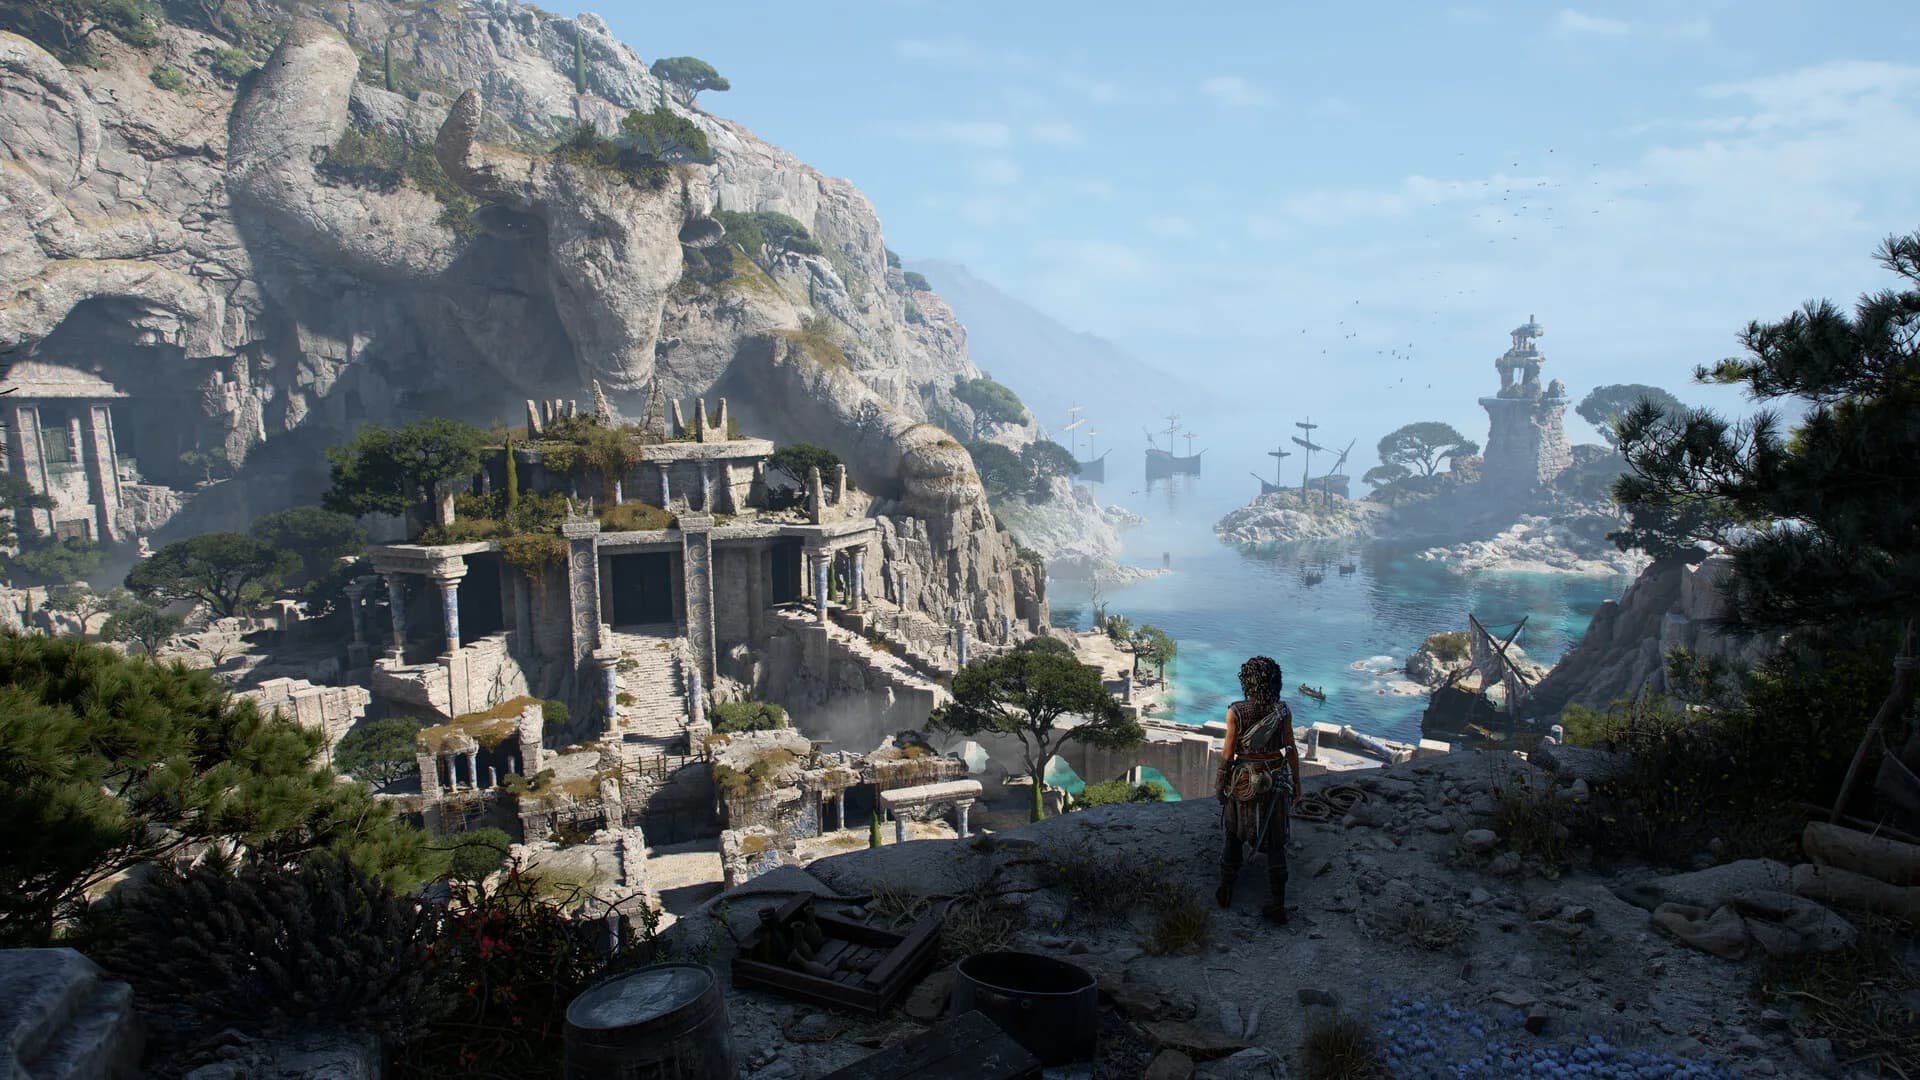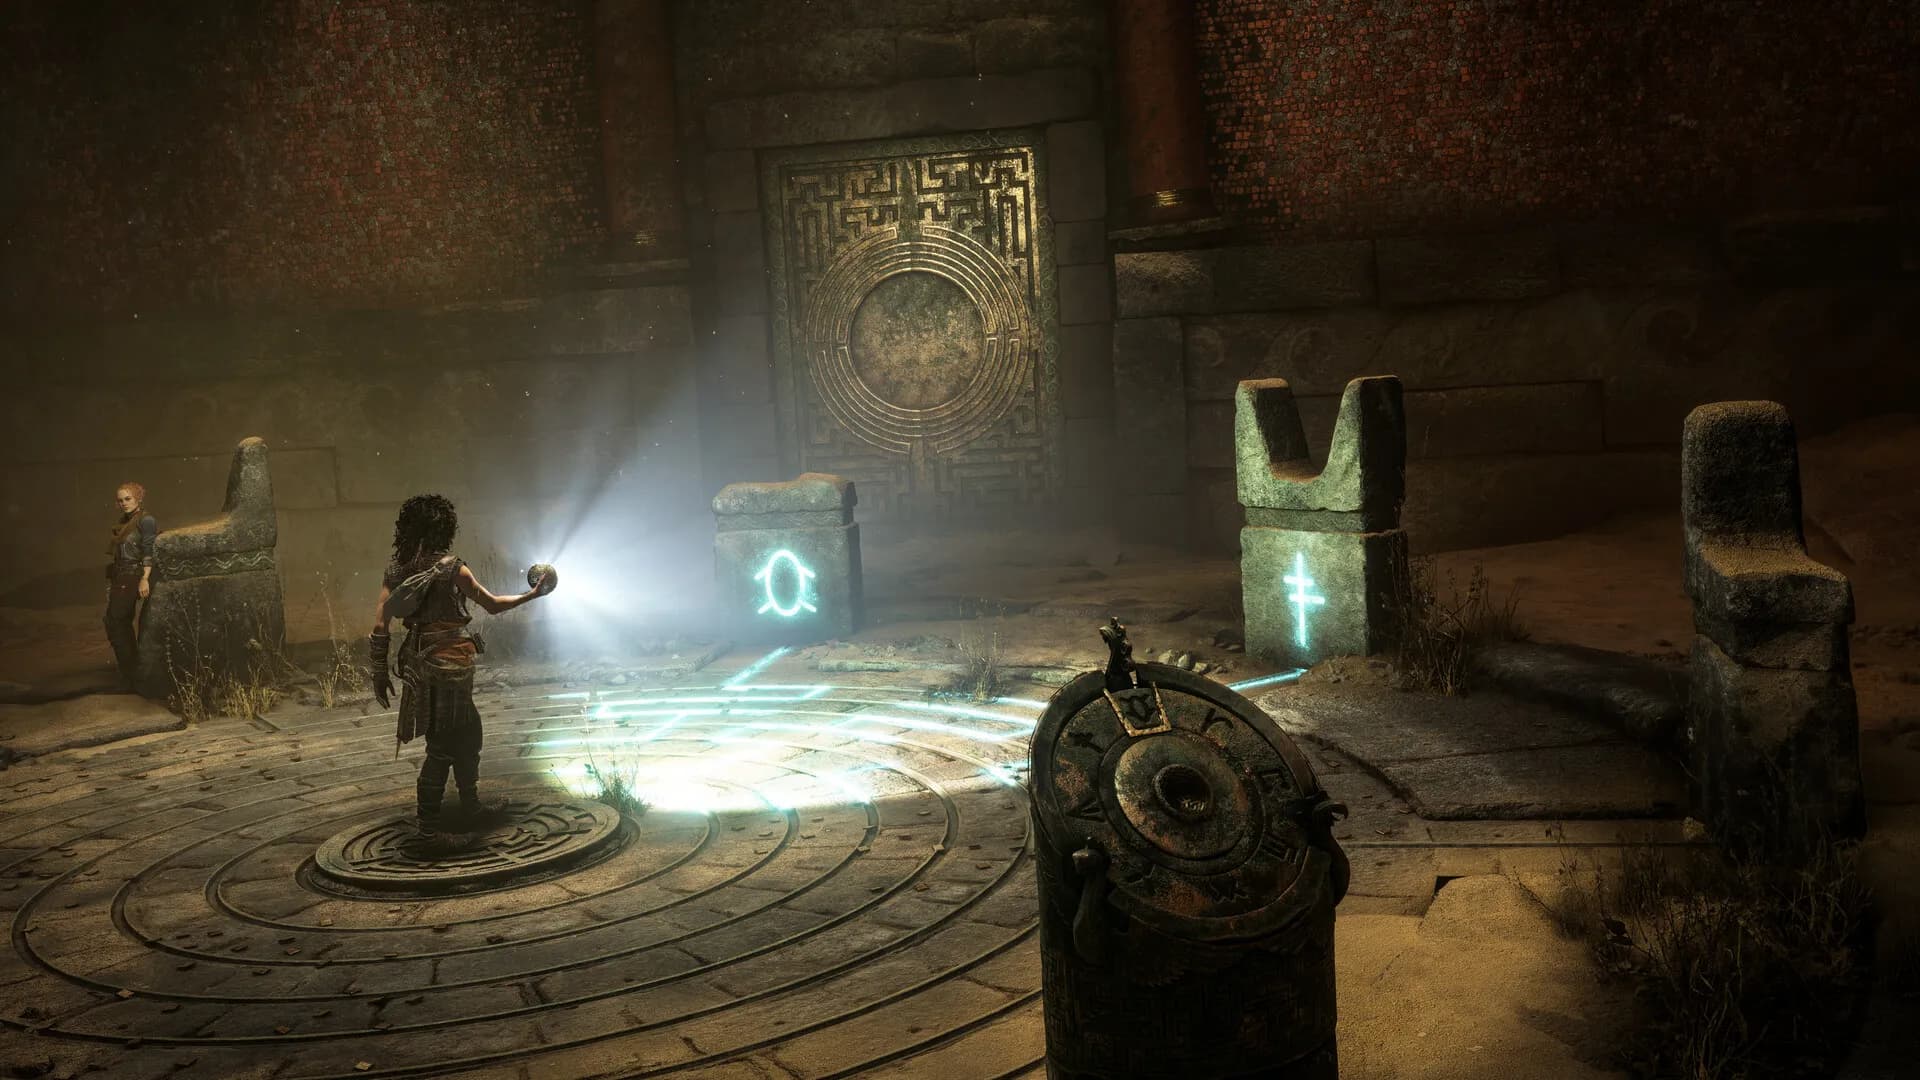
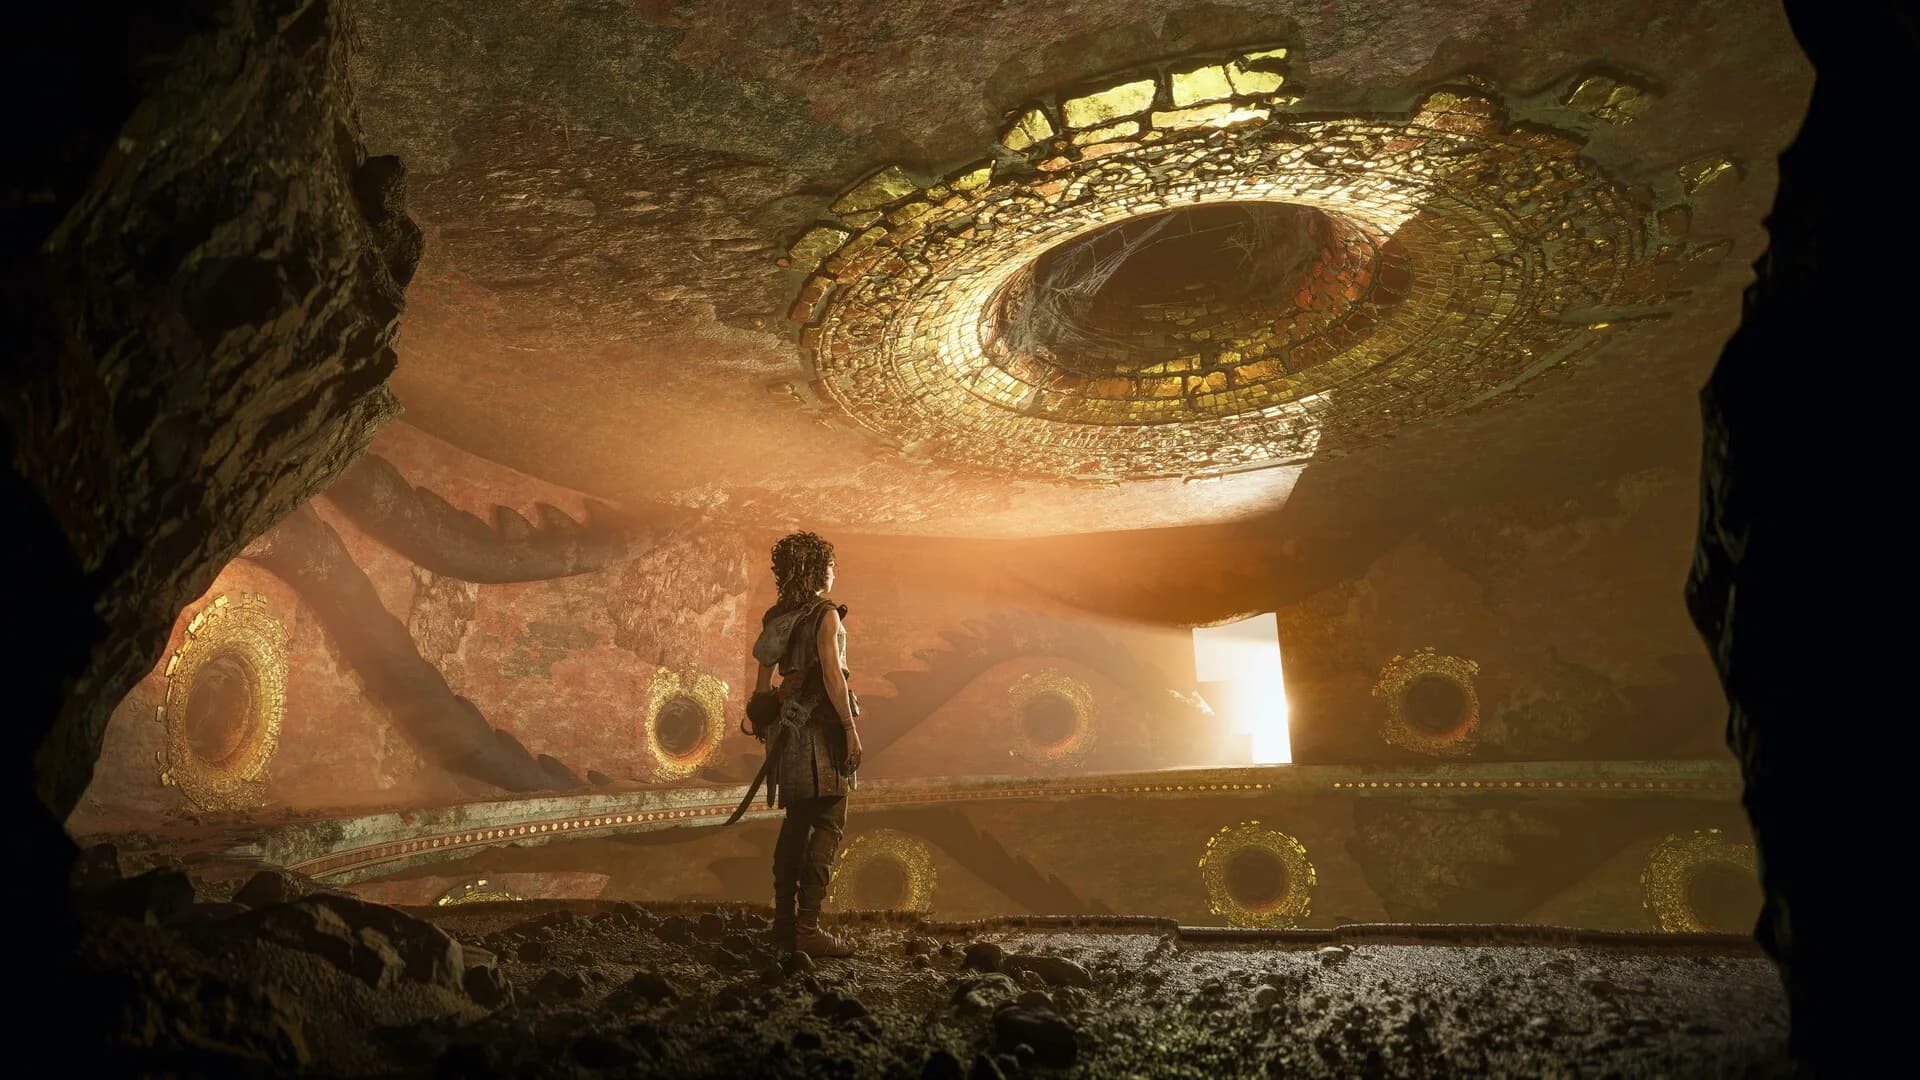
QUICK ANSWER
Work through the Patera trials, revisit sphere mechanics and prepare for the final stretch of the island.
The critical path
Work through the Patera trials, revisit sphere mechanics and prepare for the final stretch of the island.
Follow these Chapter 11 checkpoints in order; each one marks a progression action or a search window before the next one-way transition.
- At the first lens room, have Faro hold the returning crank while Sophia uses the second crank to sweep away growths.
- Push the shield device along its rail before redirecting the dangerous beam toward the blocked crank.
- After the lower passages, activate the light to introduce the puppet enemies and expose their vulnerable growths.
- Use sword attacks to stun puppets, charged attacks to remove their heads and the sphere beam to finish the exposed growth.
- At the final lens, clear the room and search beside the elevator lever before realigning the mechanism.
Chapter checklist
Before the final one-way transition, check the chapter tracker for 0 Blades, 3 Artefacts and 2 Charms.
Use the book, receptor colors and environmental markings together; this chapter deliberately combines earlier puzzle rules.
| Blade | Artefacts | Charms |
|---|---|---|
| 0 | 3 | 2 |
If the puzzle stops you
Chapter 11 uses the sphere, environmental markings or light routing at the blockers noted above. Reveal the full mechanism first, then change one pedestal, reflector or beam at a time so the failed link remains visible.
The dedicated puzzle guide places Chapter 11's verified solution in chronological order and preserves the surrounding objective name, making it easier to confirm that you are solving the same room.
Quick player questions
Can I replay Chapter 11?
Yes. You can reopen Chapter 11 through Chapter Select for its regular collectibles; a later Resonance Point total does not carry backward into this saved chapter state.
Are there collectibles in Patera?
Yes. The verified Chapter 11 total is 0 Blades, 3 Artefacts and 2 Charms.