QUICK ANSWER
Fight beside Faro, cross the forest and cavern route, decode the book symbols and open another light-sealed tomb.
The critical path
Fight beside Faro, cross the forest and cavern route, decode the book symbols and open another light-sealed tomb.
Follow these Chapter 10 checkpoints in order; each one marks a progression action or a search window before the next one-way transition.
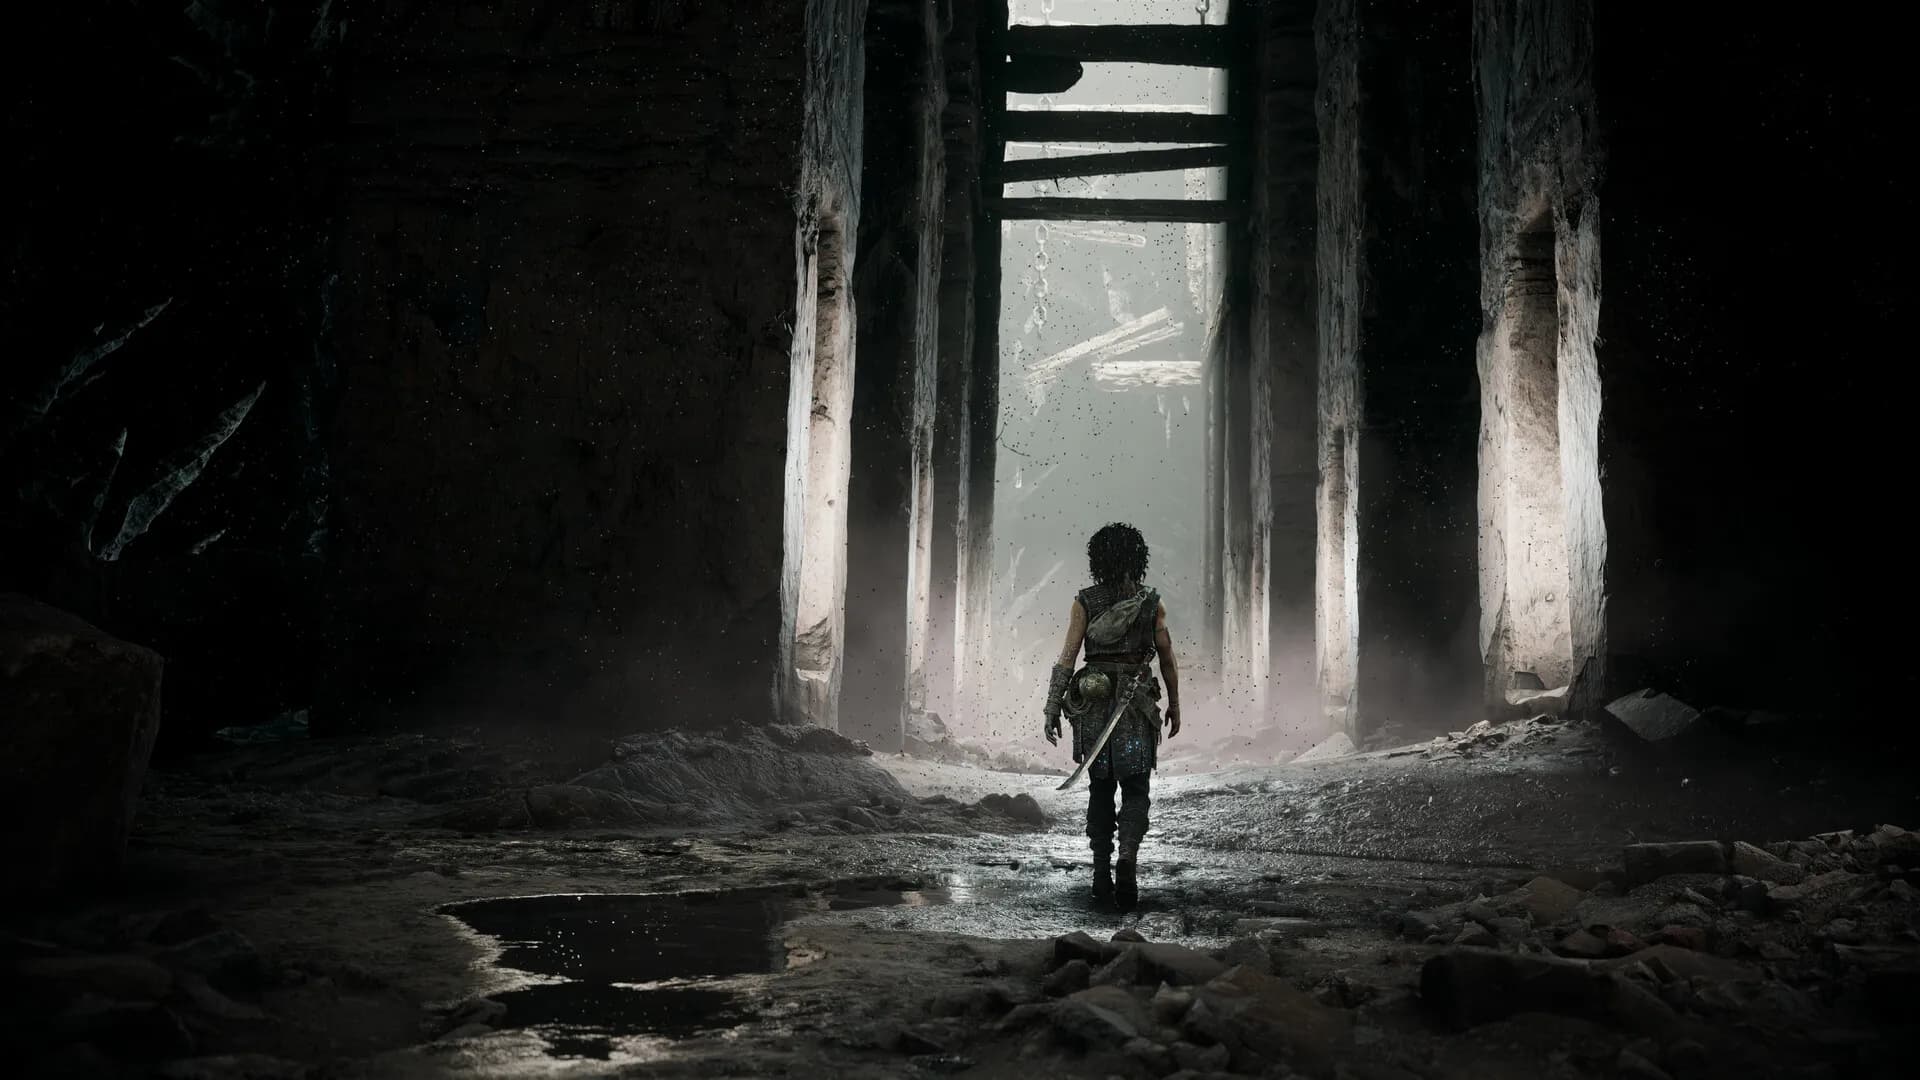
- Follow Faro through the opening battle, then search both the forest clearing and abandoned camp before entering the cavern.
- Use Sophia's book at the six symbol junctions: choose right at the first four, then left at the fifth and sixth.
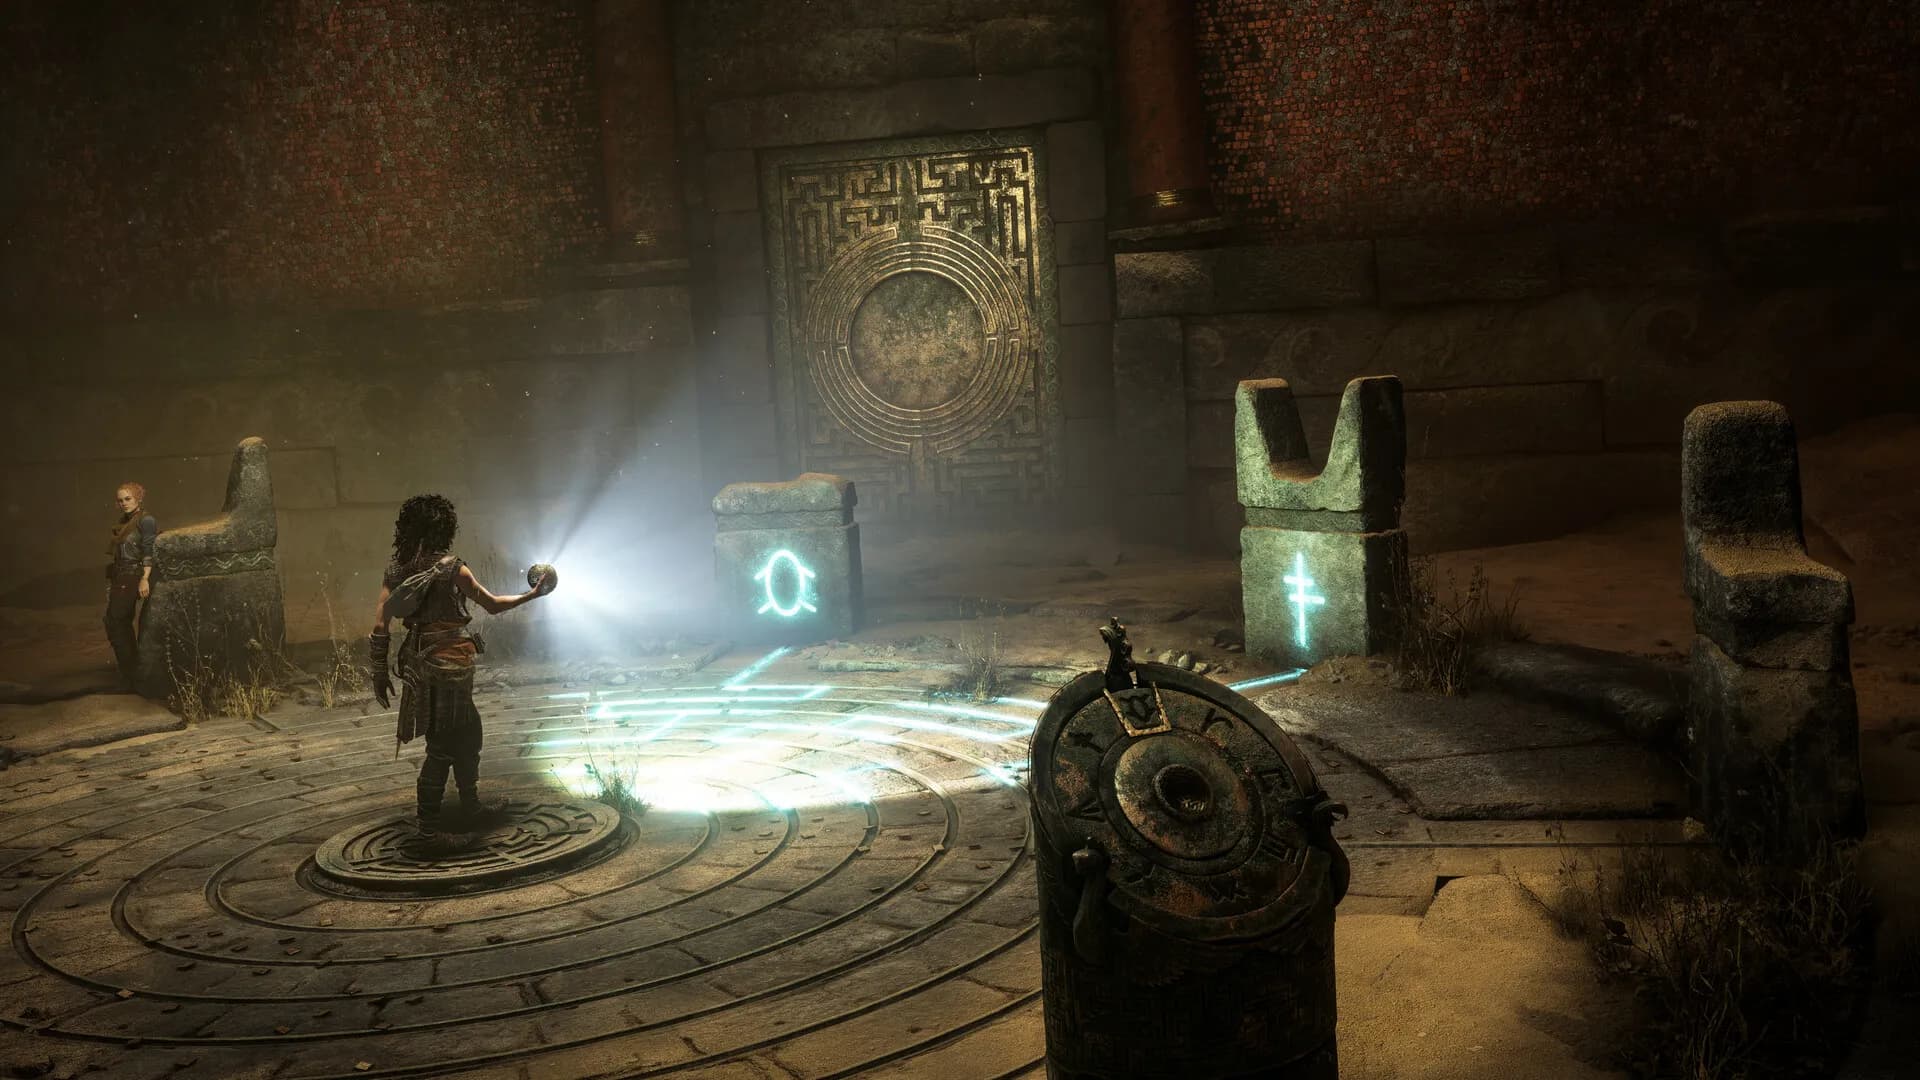
- For the mountain tomb, uncover the hidden blue marker before setting the red, green and blue light positions.
- In the large mirror chamber, establish one complete beam route before repositioning the next suspended reflector.
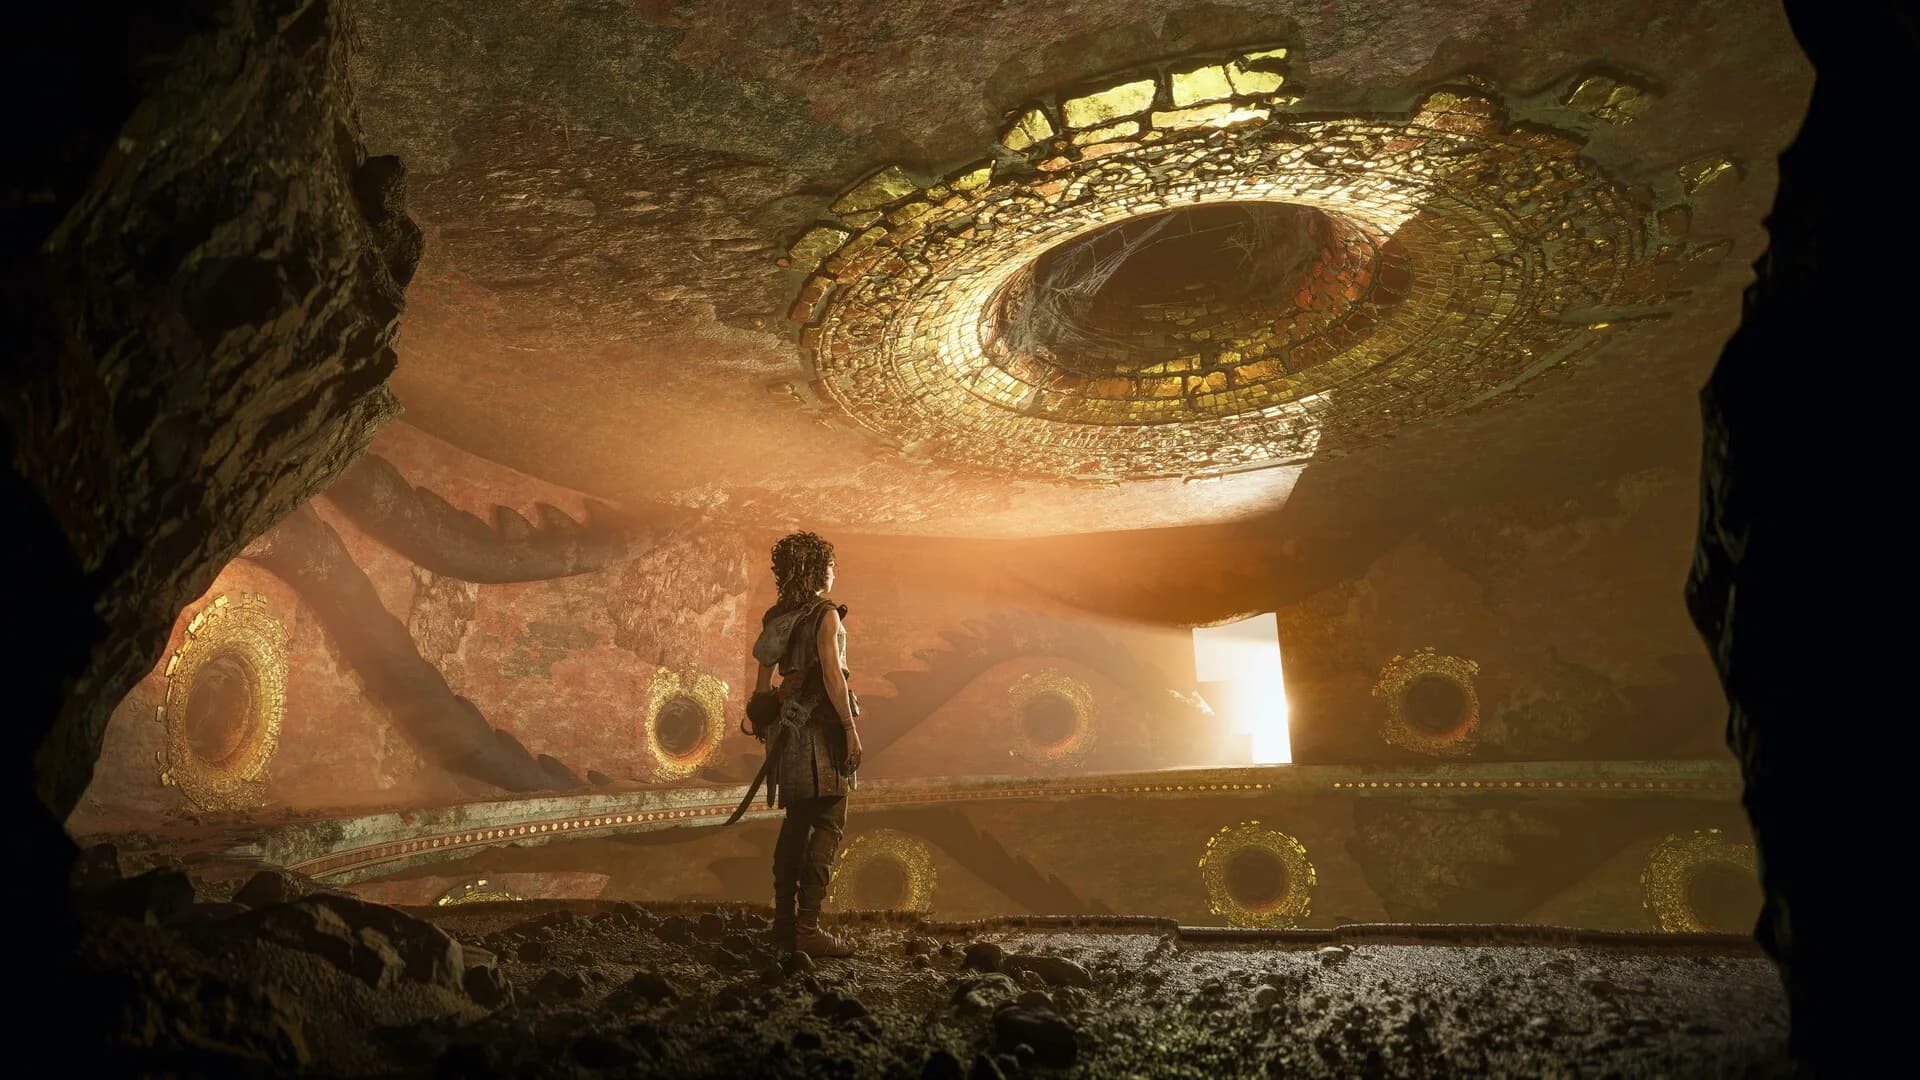
- Inside Daedalus' workshop, use the hanging mirror and grapnel weight to open the upper tomb before the story mirror.
Chapter checklist
Before the final one-way transition, check the chapter tracker for 1 Blade, 4 Artefacts and 3 Charms.
At the six-symbol cavern junctions, take right four times, then left twice.
| Blade | Artefacts | Charms |
|---|---|---|
| 1 | 4 | 3 |
If the puzzle stops you
Chapter 10 uses the sphere, environmental markings or light routing at the blockers noted above. Reveal the full mechanism first, then change one pedestal, reflector or beam at a time so the failed link remains visible.
The dedicated puzzle guide places Chapter 10's verified solution in chronological order and preserves the surrounding objective name, making it easier to confirm that you are solving the same room.
Quick player questions
Can I replay Chapter 10?
Yes. You can reopen Chapter 10 through Chapter Select for its regular collectibles; a later Resonance Point total does not carry backward into this saved chapter state.
Are there collectibles in Parallel Paths?
Yes. The verified Chapter 10 total is 1 Blade, 4 Artefacts and 3 Charms.