QUICK ANSWER
Upgrade the sphere, trace blue floor lines to three symbols, then clear reflector, maze and spike-trap rooms.
The critical path
Upgrade the sphere, trace blue floor lines to three symbols, then clear reflector, maze and spike-trap rooms.
Follow these Chapter 4 checkpoints in order; each one marks a progression action or a search window before the next one-way transition.
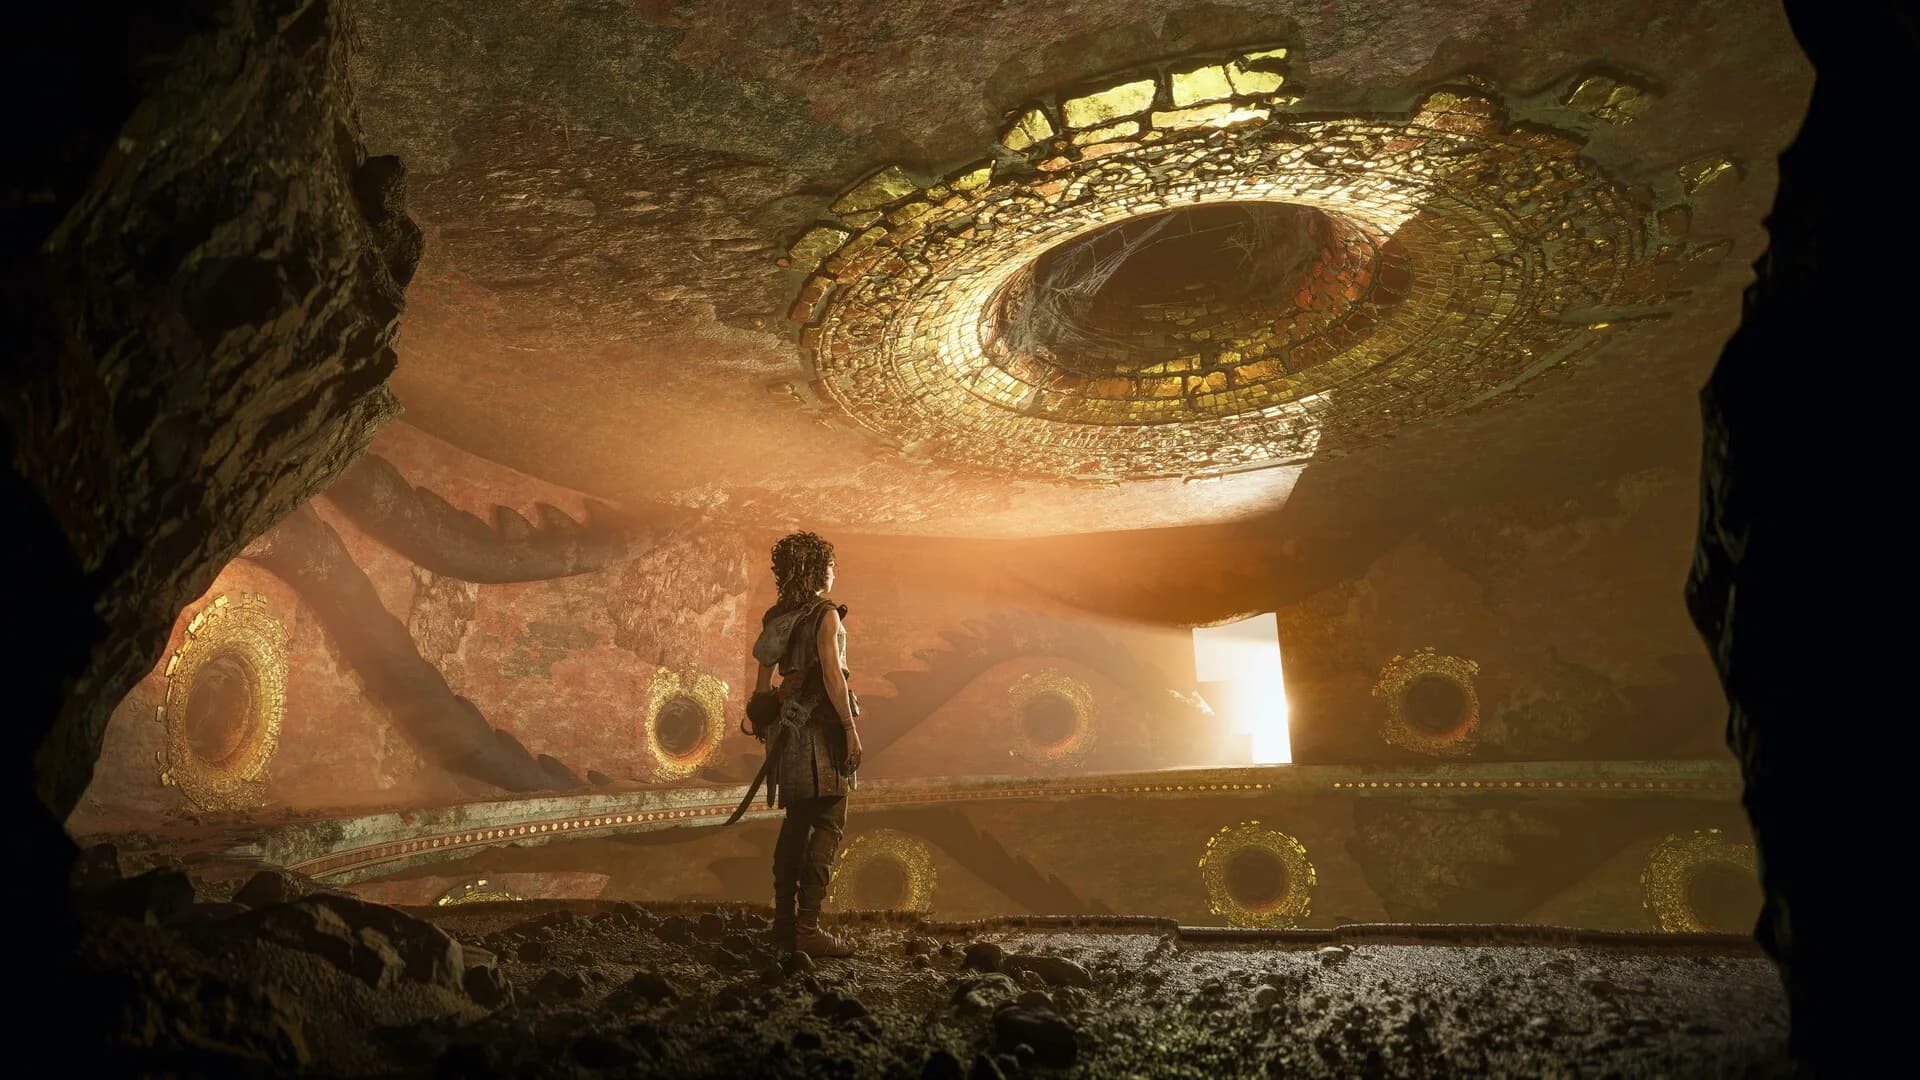
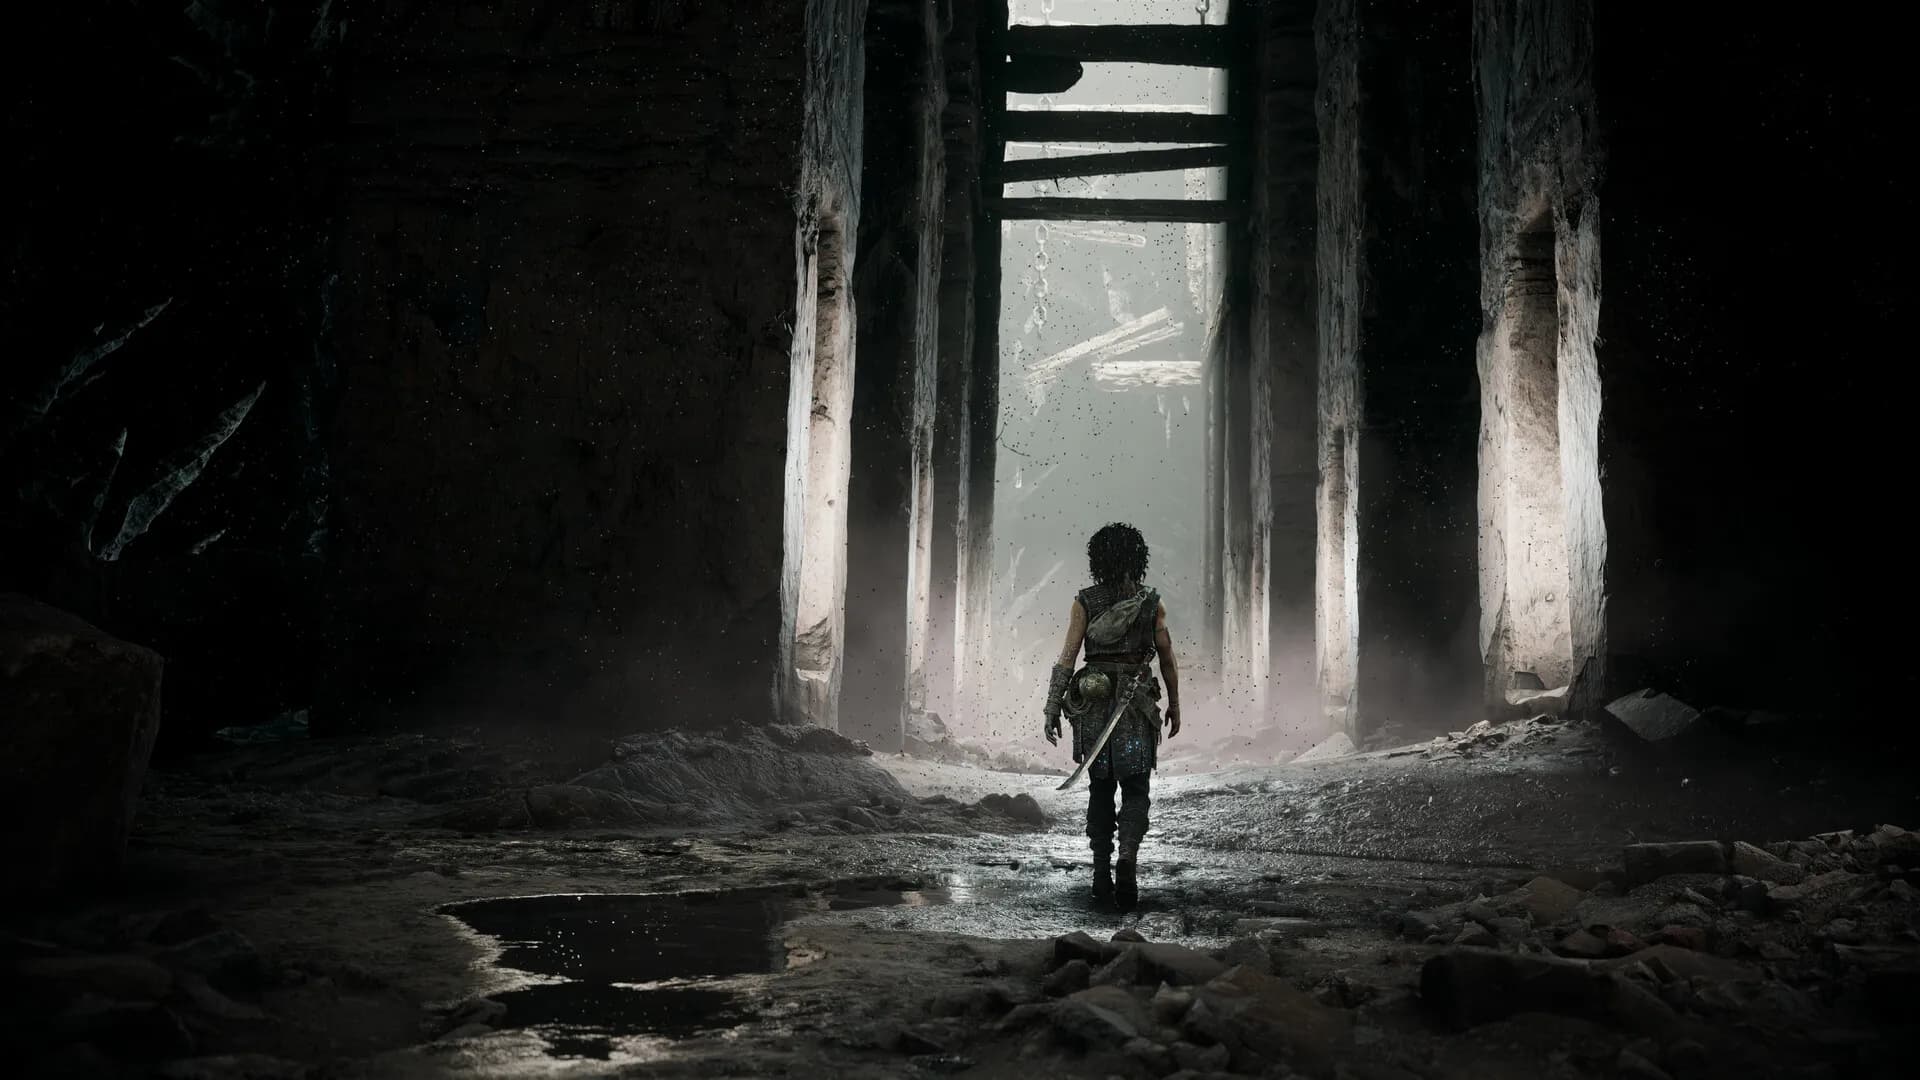
- Climb the side ledges on the approach and use the grapnel at the bottom of the collapsing slope.
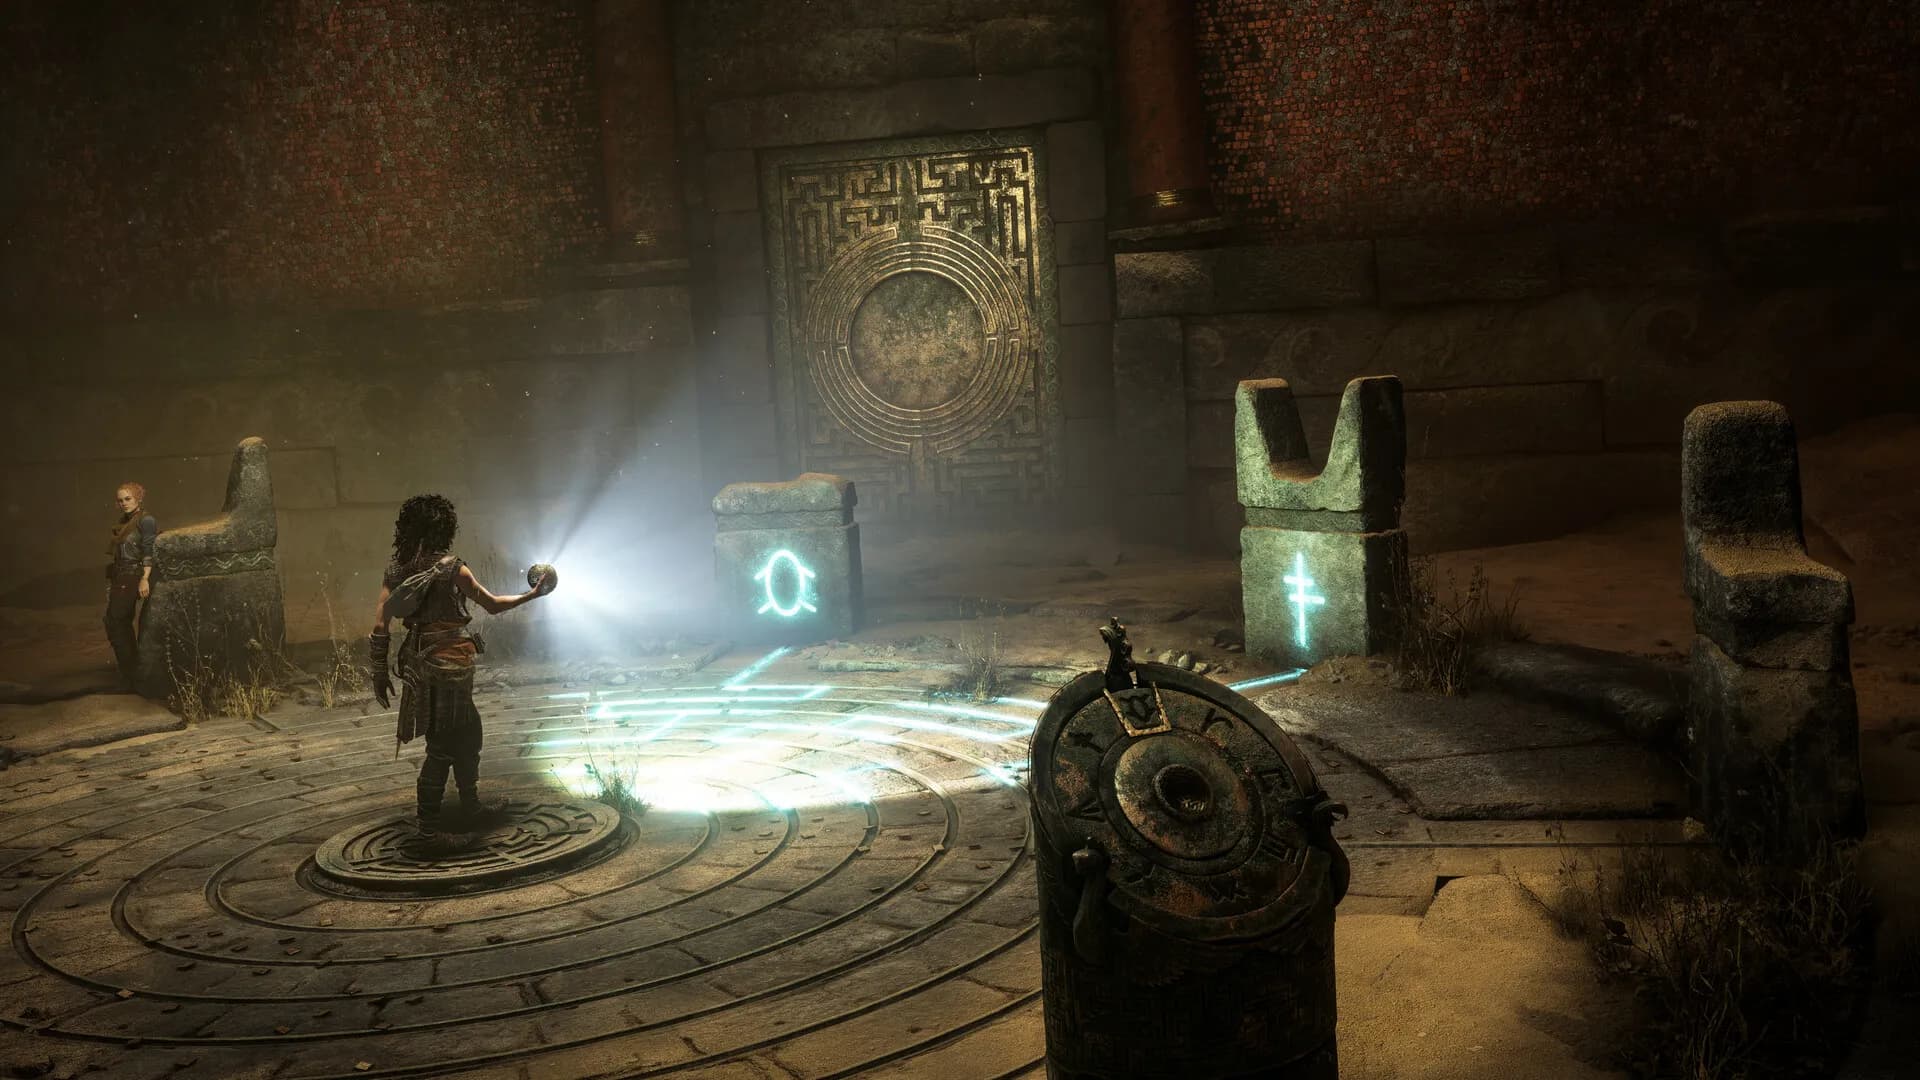
- After the sphere upgrade, reveal the blue floor lines and set the three pedestals to Y, C and the arrowhead symbol from left to right.
- Around the Minotaur statue, search the upper camp and lower walkway before entering the next puzzle room.
- Use Leni's reflector to reveal the safe maze route, then cross spike rooms only after the moving hazards complete a cycle.
- Open the optional tomb after the trap sequence to secure the Kopis before leaving the trial.
Chapter checklist
Before the final one-way transition, check the chapter tracker for 1 Blade, 3 Artefacts and 2 Charms.
The first pedestal sequence reads Y-like symbol, C-like symbol, then arrowhead from left to right.
| Blade | Artefacts | Charms |
|---|---|---|
| 1 | 3 | 2 |
If the puzzle stops you
Chapter 4 uses the sphere, environmental markings or light routing at the blockers noted above. Reveal the full mechanism first, then change one pedestal, reflector or beam at a time so the failed link remains visible.
The dedicated puzzle guide places Chapter 4's verified solution in chronological order and preserves the surrounding objective name, making it easier to confirm that you are solving the same room.
Quick player questions
Can I replay Chapter 4?
Yes. You can reopen Chapter 4 through Chapter Select for its regular collectibles; a later Resonance Point total does not carry backward into this saved chapter state.
Are there collectibles in From Hell It Rose?
Yes. The verified Chapter 4 total is 1 Blade, 3 Artefacts and 2 Charms.